CTA Certified

Our parts are ADR compliant and meet the required obligations of the Australian Design Road Rules and Regulations. You can download our current list of approved parts below.

ADR Certified Parts

Sunrise parts are made to the highest quality. with over 20 years of experience our dedicated team and factories know how to make parts that are compliant with Australian road rules

  • Component Type Approved (CTA)
  • Designed to Australian Standards
  • ADR Compliant and Approved

Which Parts Need Compliance?

Australia’s official technical standards for vehicle safety, theft resistance and emissions are known as Australian Design Rules (ADR). The below are the components for trailers below 4.5T ATM that require CTA.

  • ADR 1/00: Reversing Lamps
  • ADR 6/00: Direction Indicators
  • ADR 38/05: Trailer Braking Systems
  • ADR 42/05: General Safety Requirements
  • ADR 45/01: Lighting & Light Signalling Devices Not Covered by ECE
  • ADR 47/00: Retro Reflectors
  • ADR 48/00: Devices for Illumination of Rear Registration Plates
  • ADR 49/00: Front, Rear & Side Lamps, Stop & End Marker Lamps
  • ADR 62/02: Mechanical Connections Between Vehicles
  • ADR 74/00: Side Marker Lamps
  • ADR 96/00: Commercial Vehicle Tyres
VIEW THE CATALOGUE

Download Our CTA Catalogue

Click the button below to view our complete CTA Catalogue

Download CTA Catalogue

Technical Resources

Technical Info

Find Your Stud Pattern

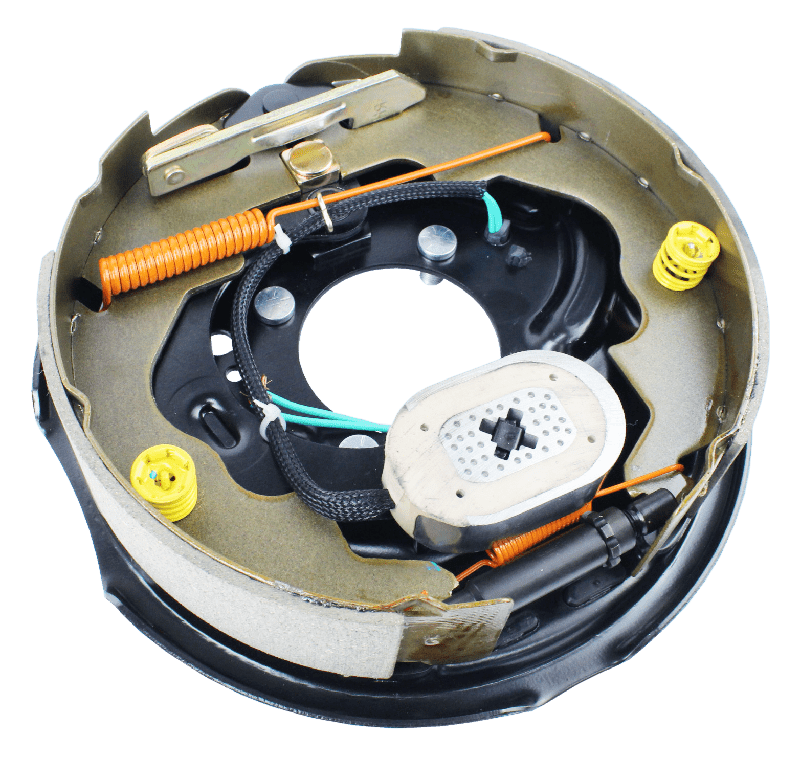
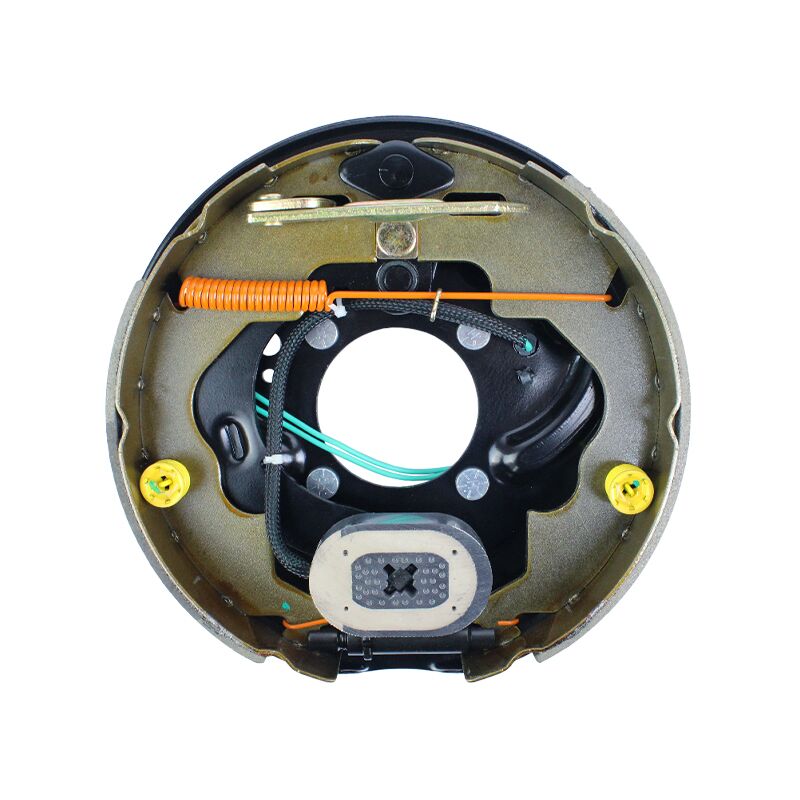
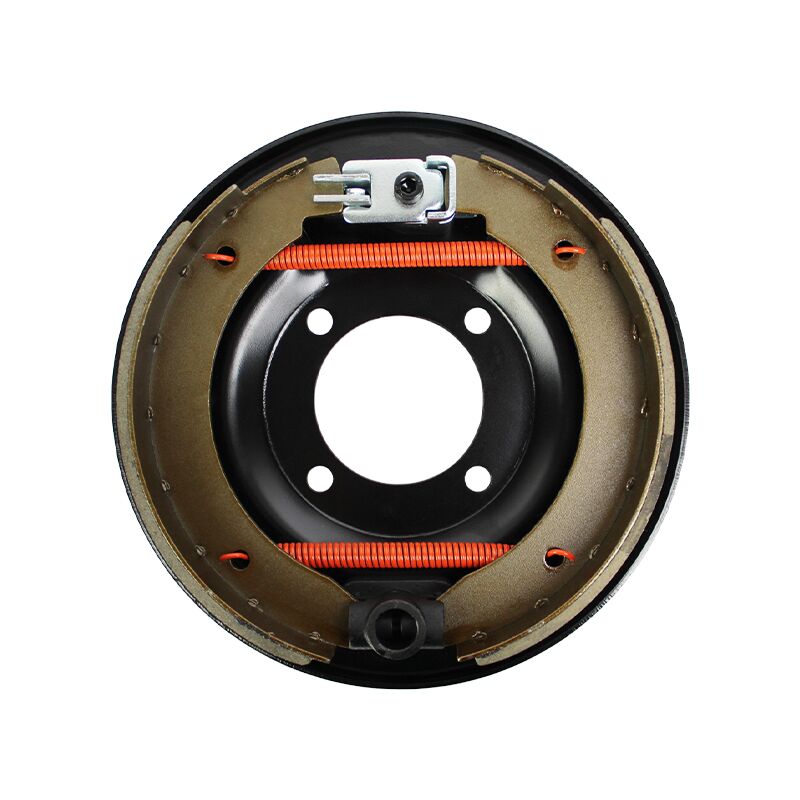
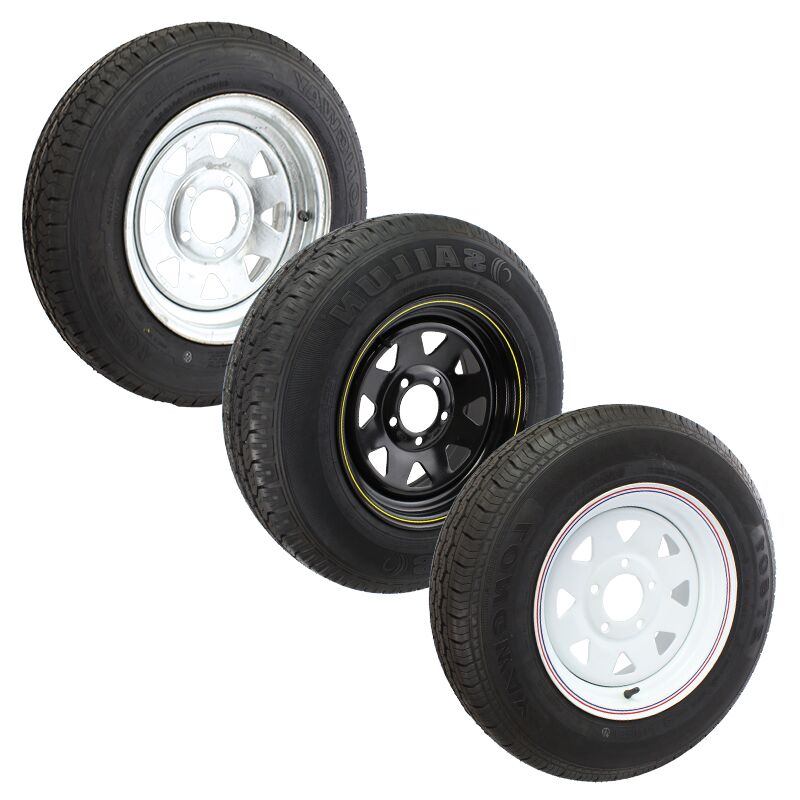
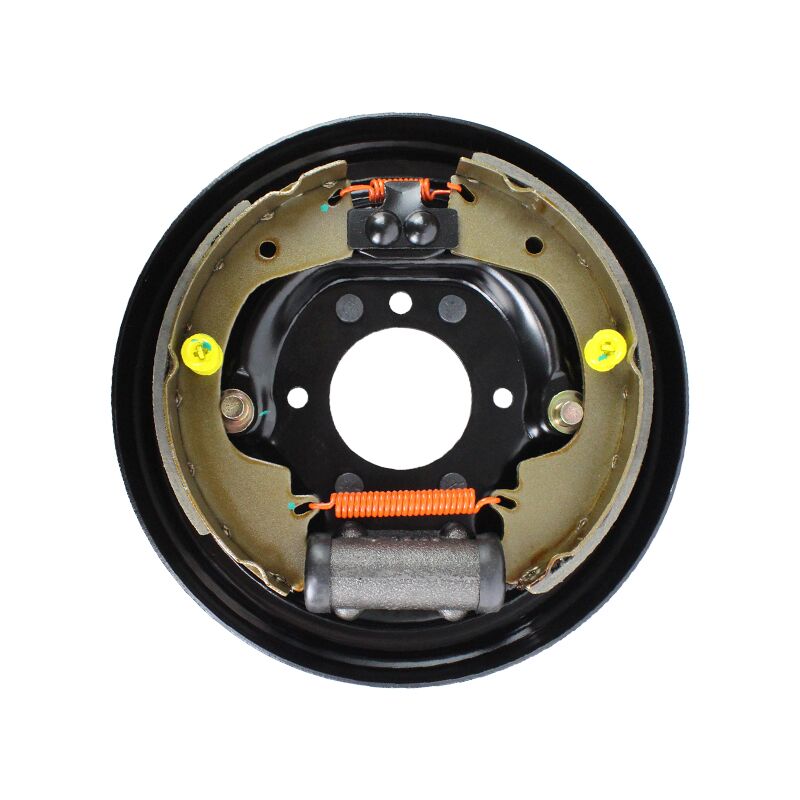
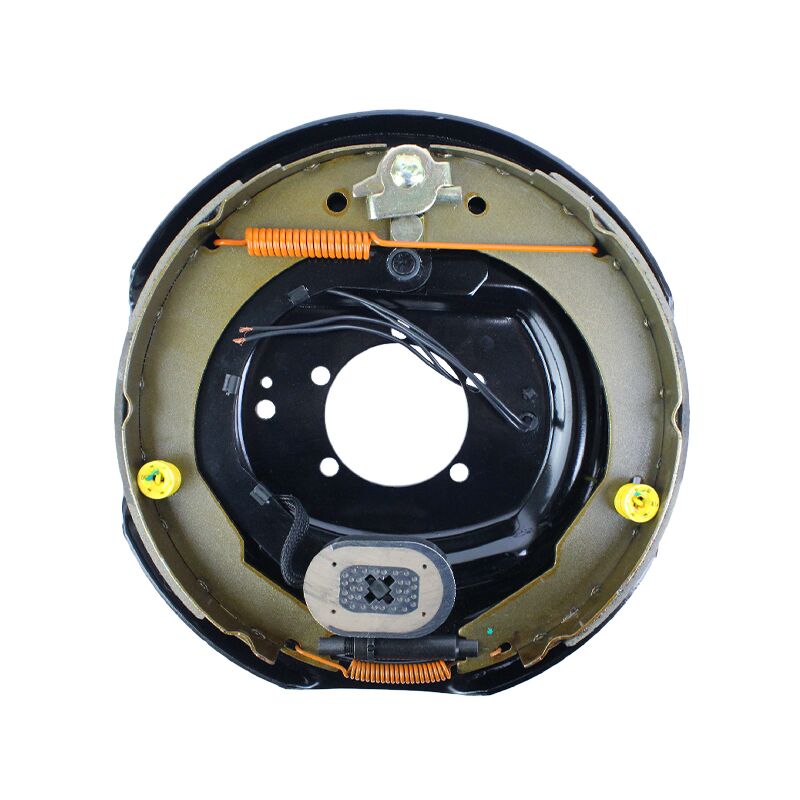
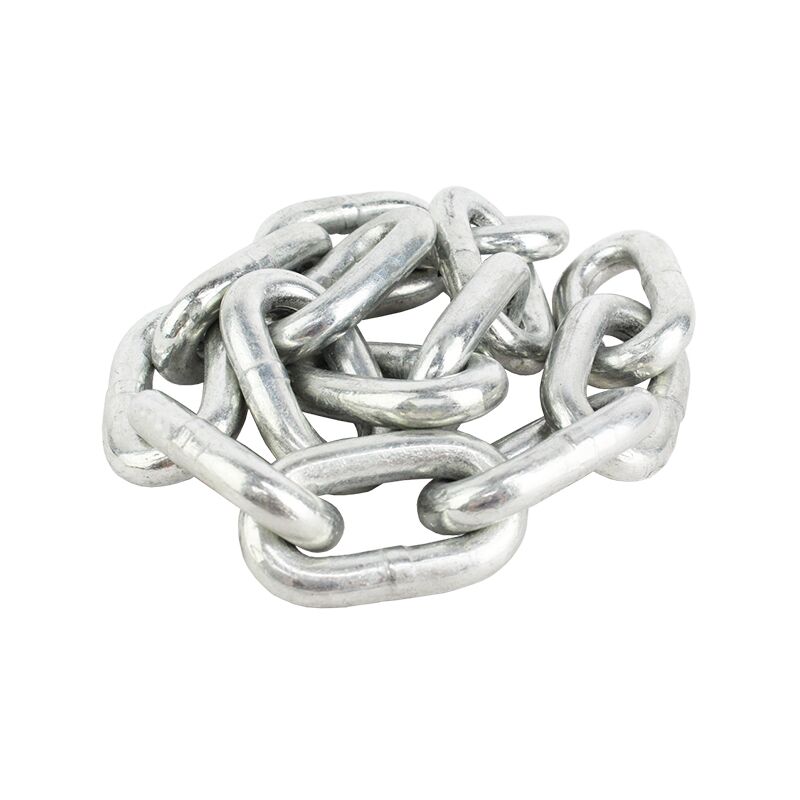
Finding the right stud pattern for your vehicle's wheels can be a tricky task, but with the right knowledge and tools, it can be done with ease. In this blog post, we'll go over everything you need to know about stud patterns, including how to find the stud pattern for your vehicle and what to look for when selecting new wheels. What is a Stud Pattern? First, let's start with the basics. A stud pattern, also known as a bolt pattern, is the arrangement of the holes on a wheel that the studs on your vehicle's hub go through. The stud pattern is measured in a number of holes and the diameter of the circle that they form. For example, a 5x114.3 stud pattern would have 5 holes arranged in a 114.3mm diameter circle. How Do I Find the Stud Pattern of My Wheel? 1.  Look at the Owner's Manual To find the stud pattern for your vehicle, you can start by checking the owner's manual. This should include information on the vehicle's stud pattern, as well as other important wheel and tire specifications. If you don't have the owner's manual, you can also check the door jamb or the vehicle's VIN number for information on the stud pattern. 2. Measure it Directly Another way to find your vehicle's stud pattern is to measure it directly. To do this, you'll need a stud pattern gauge, which is a tool that allows you to measure the distance between the center of each stud hole. This can be purchased online or at a local auto parts store. Once you know your vehicle's stud pattern, you can start looking for new wheels that will fit. When selecting new wheels, it's important to ensure that the stud pattern of the wheels matches that of your vehicle. Additionally, you should also make sure that the wheel's center bore and offset are compatible with your vehicle. When it comes to stud patterns, it's important to remember that not all wheels will fit all vehicles. That's why it's essential to know your vehicle's stud pattern and to select wheels that are compatible. By following these tips, you can find the perfect stud pattern for your vehicle and get the best fit for your new wheels. More on Stud Patterns Stud patterns, also commonly known as bolt patterns, bolt circles, lug patterns or PCD’s (pitch circle diameter) – nevertheless, stud patterns are determined by the diameter of a circle which runs through the centre of a wheels stud holes. Generally, there are 4, 5 or 6 stud holes. This diameter determines your stud pattern, which using the table below, will help provide you important information on your wheel set up such as the stud distance and most commonly used wheel stud size. “…stud patterns are determined by the diameter of a circle which runs through the centre of a wheels stud holes”   Odd and Even Stud Pattern Measurement Methods When it comes to finding the correct fittings for your axles, it is important to know your required stud pattern to match the wheel pattern. For uneven stud holes such as 5 stud patterns, measure from the centre of one stud, to the furthest edge of the most opposite stud. For even stud holes such as 4 or 6 stud patterns, simply measure from the centre of one stud, to the centre of the opposite stud. Compare your measurements to the stud PCD column in the table below to find your stud pattern. Here at Sunrise, we are always happy to lend a helping hand to our customers – if you require more information, or want to be sure about your measurements, contact your local Sunrise store or bring in your wheel and we can help you on the spot. In conclusion, stud pattern is an essential aspect to consider when selecting new wheels for your vehicle. With the right knowledge and tools, you can easily find the stud pattern for your vehicle and select wheels that will fit perfectly. Make sure to pay attention to your vehicle's stud pattern, center bore and offset when selecting new wheels for your vehicle.   Stud Pattern Stud PCD Stud Distance Common Stud Size FORD 5 x 114.3mm 67.18mm 1/2″ COMMODORE 5 x 120mm 70.54mm 7/16″ HQ HOLDEN 5 x 120.65mm 70.91mm 7/16″ HT HOLDEN 5 x 108mm 63.95mm 7/16″ LANDCRUISER/NISSAN 6 x 139.7 69.85mm 1/2″ LANDCRUISER 100 SERIES 5 x 150mm 88.20mm 9/16″ GEMINI 4 x 100mm 70.71mm 7/16″ DATSUN 4 x 114.3mm 80.80mm 7/16″
Axle Specifications

Hydraulic Drum Braked Axles: The Ultimate Guide to Safe Towing

When it comes to towing a trailer, safety should always be at the forefront of your mind. One of the most important components of a safe towing setup is the hydraulic drum braked axle. In this post, we'll delve into the world of hydraulic drum braked axles, covering everything from how they work to why they're so important for safe towing. What are Hydraulic Drum Braked Axles? A hydraulic drum braked axle is a type of trailer axle that uses hydraulic brakes to slow down and stop the trailer. These brakes work by using a system of drums, cylinders, and brake shoes that apply pressure to the drums to slow the wheels of the trailer. Why are Hydraulic Drum Braked Axles Important? Hydraulic drum braked axles are incredibly important for safe towing because they provide reliable, consistent braking power. Unlike other types of trailer brakes, such as electric brakes or surge brakes, hydraulic drum brakes are not affected by power loss or a loss of control. This means that even if your tow vehicle's brakes fail, your trailer will still be able to stop safely. Another advantage of hydraulic drum braked axles is their durability. These brakes are designed to withstand the rigors of towing, and they can last for many years with proper maintenance. Additionally, hydraulic drum brakes are relatively easy to maintain, making them a great choice for those who want to ensure their trailer is always in top condition. How Do Hydraulic Drum Braked Axles Work? Hydraulic drum brakes work by using a system of drums, cylinders, and brake shoes. The brake shoes press against the drums when the brakes are applied, slowing the wheels of the trailer. The brake shoes are powered by the hydraulic cylinders, which are filled with brake fluid. When the brake pedal is pressed, the brake fluid is forced into the cylinders, causing the brake shoes to press against the drums. When it comes to maintaining your hydraulic drum brakes, it's important to check the brake fluid level regularly and to have the brakes serviced every two years or so. Additionally, it's important to check the brake shoes and drums for wear and tear and to replace them if they show signs of wear. Where Can I Purchase Drum Brake Axles? Hydraulic drum braked axles consist of a straight beam axle with braked hub drums fitted. These are available in 9″, 10″ or 12″. View our Drum Brake Axles now. viEW pRODUCT Now Here at Sunrise, we are committed to helping our customers. We have provided a guide on how to find your stud pattern to help you find your correct brake drum for your axle set up. To see how you can find out your stud pattern click here. In conclusion, hydraulic drum braked axles are an essential component of any safe towing setup. They provide reliable, consistent braking power and are designed to withstand the rigors of towing. By understanding how these brakes work and how to maintain them, you can ensure that your trailer is always in top condition and that you and your loved ones stay safe on the road. If you require more information, or want to be sure about your measurements, contact your local Sunrise store and a team member can assist with any enquiries you may home.  
Product Info

Safety Chain Compliance

Whether you're towing for the first time or you're an experienced tower, you may have some questions or doubts on the requirements of having compliant safety trailer chains. The team at Sunrise are here to help make sure you have the right answers to meet legal requirements. The Legal Requirements of Safety Chains Safety chains are mandatory throughout Australia. They serve to maintain the connection between a trailer and its towing vehicle should there be any coupling failure. The first step in finding the right chain is to understand the term Aggregate Trailer Mass (ATM). The ATM is the total weight of a trailer and its maximum (or full) load when NOT coupled to a vehicle. This figure is commonly stamped onto the trailer VIN plate. Safety chains must be marked in accordance to the relevant Australian Standard and your trailer ATM. Australian Standard for Safety Chains Safety chains are an important component of trailer safety in Australia and must comply with Australian Standards AS 4177.4-1994 or AS 4177.4-2004. These standards outline the requirements for safety chains on trailers and other vehicles that are used for towing. Where Should I Attach Safety Chains? According to these standards, safety chains must be attached to the tow vehicle and the trailer in a way that prevents the trailer from becoming detached in the event of a failure of the tow hitch or other connection. Safety chains must be of a suitable size, strength, and design to prevent the trailer from separating from the tow vehicle. The safety chains must be attached to the tow vehicle and the trailer in such a way that they are taut when the trailer is connected to the tow vehicle, but not so tight that they impede the movement of the trailer. They must also be easily accessible for inspection and maintenance. It's also important to note that safety chains must be visible and not obscured by any other equipment or parts of the trailer or tow vehicle. Where Can i Purchase Safety Chains Sunrise has an extensive range of safety chains. You can view all our safety chains here. What Rating is Required for Safety Chains on Trailers? The standard also specifies the minimum breaking strength of the safety chains, which is typically around 2.5 times the Gross Trailer Mass (GTM) of the trailer. It also specifies the minimum number of safety chains that must be used, which is typically two. Your trailer ATM will help to determine which safety chain you will need. See the guide below to help you find your suitable safety chain: ATM less than or equal to 2.5T If your trailer ATM does not exceed 2.5 tonnes, you must have at least one safety chain complying and stamped with Australian Standard AS 4177.4-1994 or Australian Standard AS 4177.4-2004 “Caravan and light trailer towing components, Part 4: Safety chains up to 3500 kg capacity”. 2.5T < ATM ≤ 3.5T If your trailer ATM is over 2.5 tonnes but does NOT exceed 3.5 tonnes, you must have two safety chains complying and stamped with Australian Standard AS 4177.4-1994 or Australian Standard AS 4177.4-2004 “Caravan and light trailer towing components, Part 4: Safety chains up to 3500 kg capacity”. ATM > 3.5T If your trailer ATM is over 3.5 tonnes, the safety chain must be permanently attached to the trailer; shackles are not permitted. The safety chain must not be welded to the draw bar. Alternatively, a plate welded to the draw bar, or an appropriate device like the Hammerlock Hook may be used. You must have two safety chains made of steel. They must have a minimum 800 MPa breaking stress that conforms to the mechanical properties of Grade T chain. This is specified in Australian Standards AS 2321-1979 “Short Link Chain for Lifting Purposes (Non Calibrated)“. Alternatively, safety cables with equal capacity to the relevant safety chains may be used on towing vehicles with ATM up to 3.5T.   Note: Any trailer without breakaway brakes must be fitted with safety chains that are marked in accordance with relevant Australian standards depending on your trailer ATM. Contact your local Sunrise store for more information on your trailer safety chains and trailer ATM. We are always happy to help, visit us in store where a team member can assist with any enquiries you may have.
Axle Specifications

Lazy Non-Braked Axles: A Guide to Understanding and Maintaining Them

Trailer axles are a crucial component of any trailer, responsible for supporting the weight of the cargo and providing stability while in motion. Among the different types of axles available, lazy non-braked axles are a popular choice for many trailer owners. In this post, we'll take a closer look at lazy non-braked axles, what sets them apart from other types of axles, and how to properly maintain them. What Are Lazy Non Braked Axles? Lazy non-braked axles, also known as idler axles, are a type of trailer axle that is not connected to the braking system of the vehicle. Unlike other types of axles, such as live or braked axles, lazy non-braked axles do not provide any braking force to the trailer. Instead, they are used as a support system for the weight of the cargo, and are typically found in the middle of a dual-axle trailer setup. Advantages of Lazy Axle Set ups? The main advantage of lazy non-braked axles is their simplicity. Without the need for braking components, these axles are generally easier and less expensive to maintain. Additionally, lazy non-braked axles can be a good choice for trailers that are carrying lightweight cargo, as they are not designed to provide braking force and may not be necessary. However, there are a few important things to keep in mind when it comes to maintaining lazy non-braked axles. It is essential to regularly check the wheel bearings and make sure they are properly lubricated to prevent wear and tear. Additionally, the tires should be properly inflated and in good condition to ensure maximum performance and safety. How do Lazy Axles Compare to Other Trailer Axles? Lazy axles differ from other types of trailer axles, such as live or braked axles, as they are not connected to the braking system of the vehicle. This means they are not designed to provide braking force, but instead are used as a support system for the weight of the cargo. Lazy axles are generally simpler and less expensive to maintain compared to other trailer axles. However, it is important to regularly check the wheel bearings and properly inflate the tires for optimal performance and safety. Things to Shoulder When Selecting an Axle When it comes to selecting the best axle for your trailer, there are several factors to consider. The first thing to consider is the weight of your cargo. Heavy loads will require stronger and more durable axles, such as live axles or braked axles. If you plan to frequently transport lightweight cargo, lazy or idler axles may be a better option as they are simpler and less expensive to maintain. Another important factor to consider is the type of terrain you will be traveling on. Off-road conditions may require more robust axles with higher load capacity. Additionally, it is essential to ensure that the chosen axle is compatible with your towing vehicle and comply with the local laws and regulations 1. Load Capacity When selecting an axle for your trailer, it is important to consider the load capacity, which is the maximum weight the axle can support. It should match the Gross Vehicle Mass (GVM) of the trailer. It is advisable to choose an axle with a higher capacity than what is needed. 2. Tyre and Wheel Capacity When considering the type of axle for your trailer, it is important to take into account the capacity of the wheels and tires, as they can greatly impact the choice of axle. Keep in mind that the wheel and tire load capacities should exceed that of the axle. Additionally, factors such as the length, width of the chassis, axle spacing, stud pattern, mounting position, and backspace of the wheel should also be taken into account when making a selection. Lazy axles consist of a straight beam axle with lazy hubs fitted. (To view our available lazy hubs, click here.)  Here at Sunrise, we are committed to helping our customers. We have provided a guide on how to find your stud pattern so you can get the correct lazy hub for your axle set up. (Click here to find out how you can find your stud pattern here.)   In conclusion, lazy non-braked axles are a popular choice for many trailer owners due to their simplicity and affordability. While they may not provide braking force, they are an important component of a trailer's overall support and stability system. Proper maintenance is essential to ensure that lazy non-braked axles continue to perform at their best and keep your trailer on the road. If you require more information or want to be sure about your measurements, please contact your local Sunrise store where a team member will assist you.
Technical Info

Bearing Numbers and Information

Bearings are commonly used in trailer parts such as between your brake drum, discs or hubs. They consist of two parts, the cup and the cone, which are pressed into the hub to aid smooth, rolling rotation for your wheels during towing. In each hub, there are two pairs of bearings, one for the outer and one for the inner, both of which have one cup and one cone. The outer bearings pair (closest to the curb) are the smallest and the inner bearing pair (closest to the trailer) are the larger bearings. The inner bearings are matched with an oil/grease seal to perfectly fit and prevent lubricants from escaping the bearings. In each hub, there are two pairs of bearings, one for the outer and one for the inner, which each have one cup and one cone. When building or repairing a trailer, bearings can be a complex part to break down. Using the table below, we’ve provided a chart which provides information to find out which bearings you need. It includes bearing numbers, the OD (outer diameter) and ID (inner diameter) as well as the width, which should make finding the part you need as easy as possible. How to Check What Bearings I Need? If you're looking to find the trailer bearing numbers on your trailer, there are a few different ways to go about it. Here are a few tips to help you locate the information you need: Check the owner's manual: Many trailers come with an owner's manual that includes information about the bearings. If you still have the manual, it's worth checking to see if the bearing numbers are listed. Look for a label or sticker: Many trailers have a label or sticker on them that includes the bearing numbers. This label or sticker may be located on the axles or on the frame of the trailer. Inspect the bearings: If you can't find the bearing numbers through the above methods, you may need to inspect the bearings themselves. The bearing numbers are typically stamped on the bearings. Contact the manufacturer: If you're still having trouble finding the bearing numbers, you can contact the manufacturer of your trailer. They should be able to provide you with the information you need. Use online resources: Lastly, you can try searching online for resources that can help you find the bearing numbers on your trailer. There are many forums, FAQ sections, and online guides available that can help you find the information you need. The Importance of Bearing Maintenance Let's discuss the importance of regular maintenance for trailer bearings. Trailer bearings should be inspected and lubricated at least once a year, or more frequently if you use your trailer frequently or for long distances. This can be done by a professional mechanic or by yourself, with the right tools and knowledge. When inspecting your trailer bearings, look for signs of wear and tear such as discoloration, rust, or damage to the seals. If you notice any of these issues, it's time to replace the bearings. It's also important to note that if you experience issues with vibration or noise while towing your trailer, this could be a sign that your bearings need to be replaced. Picking The Right Bearings When it comes to choosing the right bearings for your trailer, there are a few factors to consider. The first thing to consider is the size and weight of your trailer. The bearings that are suitable for a small utility trailer may not be suitable for a large horse trailer. It's also important to consider the type of terrain and weather conditions your trailer will be exposed to, as this can affect the durability of the bearings. Another important factor to consider when choosing trailer bearings is the quality of the bearings. It's important to choose bearings from a reputable manufacturer that are known for their durability and quality. Avoid buying low-quality bearings as they may not last as long and can cause more damage to your trailer in the long run. You can view our entire range of trailer bearing range by clickiing here.   In conclusion, regular maintenance and care of your trailer bearings can help prolong their lifespan and ensure the safety and smooth operation of your trailer. By keeping an eye out for signs of wear and tear, replacing them when necessary, and choosing the right bearings for your trailer, you can ensure that your trailer is always ready to hit the road. Here at Sunrise, our hands-on team can provide expert help and advice on bearings, whether it is determining which bearings you have, or selecting the appropriate grease needed. Please reach out if you need any other information. Bearing Type Bearing No. Part Location OD ID Width LM LM67010 Cup Inner LM LM67048 Cone Inner 59mm 31.75mm 15.87mm LM LM11910 Cup Outer LM LM11949 Cone Outer 45.23mm 19.05mm 15.49mm LM Seal Seal 59mm 37.5mm S/Line L68110 Cup Inner S/Line L68149 Cone Inner 59.13mm 35mm 15.87mm S/Line LM12710 Cup Outer S/Line LM12749 Cone Outer 45.24mm 22mm 15.49mm S/Line 28600 Seal Seal 59mm 43.9mm Parallel L68110 Cup Inner/Outer Parallel L68149 Cone Inner/Outer 59.12mm 35mm 15.87mm Parallel 28600 Seal Seal 59mm 43.9mm USA L68110 Cup Inner USA L68149 Cone Inner 59.97mm 35mm 15.87mm USA L44610 Cup Outer USA LRR649 Cone Outer 26.99mm 50.29mm 14.22mm USA USA Seal Seal Seal 65.05mm 43.69mm 2T 25520 Cup Inner 2T 25580 Cone Inner 82.93mm 44.45mm 23.81mm 2T 15123 Cup Outer 2T 33940 Seal Seal 85.5mm 48.5mm
Product Info

Custom Axle Order Form

Looking to build a new trailer? Need a quote on your custom axle? We have our very own in-house engineers and trailer experts to help you find the best set up for your needs. With guided trailer planning, we understand that each of our customers have different requirements. Manufacturing custom, tailored sized and shaped axles is now made easier with the new custom axle order form we’ve provided below. Committed to providing Australia with excellent service and quality, the Sunrise team want to make sure you are served to the best of our ability; if you require any assistance in completing the form, feel free to send us any questions via email at (sales@sunriseint.com.au) or give us a call on 03 9794 0415 and a team member will be happy to answer any questions you may have. Click to download: Custom Axle Order Form
Technical Info

LED Light Wiring Instructions

Wiring the lights on your trailer in Australia is not only important for safety, but it is also a legal requirement. In this blog post, we will discuss the different types of trailer light wiring in Australia, the tools and materials you'll need, and tips for troubleshooting common wiring issues. What Lighting do I Need on my Trailer? The Australian Design Rules (ADR) regulates the lighting and markings for all types of vehicles, including trailers. According to ADR, trailer lights must include a brake light, a tail light, a license plate light, and a side marker light, as well as an indicator light for each direction of travel. The most common type of trailer light wiring in Australia is the 7-pin flat system. This system includes the basic lights such as tail lights, brake lights, and turn signals, as well as a center pin for the electric brakes. It also includes a pin for a reverse light, which is mandatory to have in Australia. How to Wire a Trailer Plug Gather the necessary tools and materials: You will need a 7-pin flat trailer plug, a trailer wiring harness, a crimping tool, wire cutters, and electrical tape. Locate the wiring harness on your vehicle: The wiring harness for the trailer plug is typically located near the rear of the vehicle. Consult the vehicle's owner manual for the exact location. Cut the wiring harness: Using wire cutters, cut the wiring harness to the appropriate length to reach the trailer plug. Crimp the wires: Use the crimping tool to attach the wires from the wiring harness to the corresponding pins on the trailer plug. Make sure to match the correct wire colors to the correct pins. Test the lights: Once the wiring is complete, test the lights on the trailer to ensure they are functioning properly. Secure the connections: Use electrical tape to secure all connections and to protect them from the elements. To wire the lights on your trailer, you will need a 7-pin flat trailer plug, a trailer wiring harness, and the appropriate wiring diagram for your vehicle. You will also need basic tools such as wire cutters, crimpers, and electrical tape. When wiring your trailer lights, it's essential to ensure that all connections are clean and secure. Loose connections can cause the lights to malfunction or not work at all. Also, it's important to make sure that the wiring is correctly color-coded according to the ADR standards, as incorrect color-coding can lead to dangerous situations on the road. If you experience any issues with your trailer lights, the first step is to check the connections to ensure they are clean and secure. If the problem persists, you can check the wiring diagram for your vehicle and trailer to see if you've made any mistakes. Another common issue is a blown fuse, so make sure to check that as well. The Importance of Connections Trailer plugs are an essential connecter between your car and any additional unpowered towing vehicle. Anything from a trailer, caravan, campervan, boat trailer to a horsebox. All objects in tow must have a plug connection to be inserted into the socket of your car. This electrical link ensures all lights, brakes and any additional attachments receive power. Basic lighting connections include the left-hand indicator, right hand indicator, brake lights, taillights and side lights. Trying to constantly monitor your trailer lights while driving is not practical, therefore having the correct connections is vital for safe, secure towing and peace of mind. Connectors are a mandatory component on any trailer in Australia, with standardized colours on all core wiring. The most commonly used is the 7 pin plugs. These are available flat or round, the latter available in the large type 1 connector with a 20mm PCD or the small Type 2 connector with a 13mm PCD. Wiring your trailer can be quite confusing, so we’ve made sure our plugs at Sunrise are straight forward and simple to follow. You can view all our Electricals, lights and plugs here. Refer to the table below to better understand what each wire connects to.   Need a hand? Chat with one of our experienced staff to find the perfect plug for your needs. Explore our range of Plugs & Connectors here.